Welcome to HardwareCentric
Solving the Spectrum
of Hardware Centric issues in Your PC World
Search for solutions…
Need Assistance?
We’re proud to have been featured by some of the world’s leading organizations. These features highlight our excellence in the field of Electronics Knowledge. Here are a few of the organizations that have recognized our work


Recent Blogs
How to Fix EXPO Won’t POST | Step-by-Step Guide
The EXPO profile, also known as the Exposed Memory Profile or Extreme Memory Profile, is a setting found in the BIOS of AMD Ryzen motherboards….

Top 10 Low Spec Games with Amazing Graphics
In a world where high-end PC gaming can be out of reach for many, the disappointment of not being able to experience realistic gameplay on…
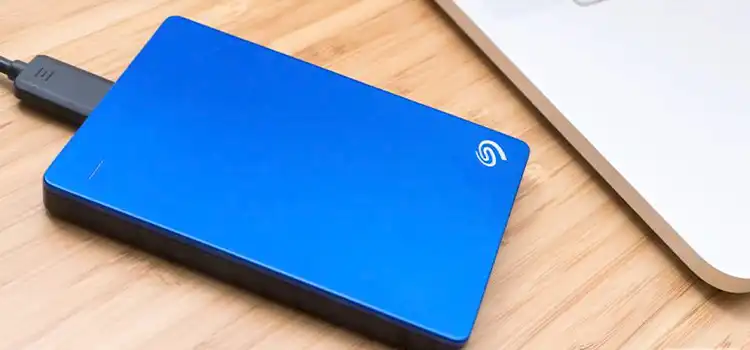
How to Trace and Recover Disappeared Files from an External Hard Drive
It can be quite stressful when you lose access to important data that was stored on an external hard drive. Maybe it was an accidental…
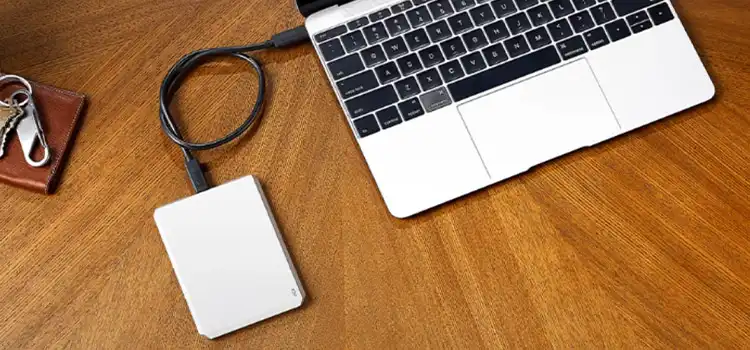
The Ultimate Guide to Formatting External Hard Drives for Mac
Using an additional hard drive with the Mac for the first time can be a bit tricky as far as compatibility is concerned. To work…

6 Ways to Use IT Services to Improve Your Online Infrastructure
Having a robust online infrastructure is not just an added advantage but a necessity for businesses aiming for growth and sustainability. Information Technology (IT) services…

How to Recover Data From a Corrupted USB Drive on Mac?
I know how frustrating it is when the USB drive becomes corrupted. And when it happens, you won’t be able to get access to the…
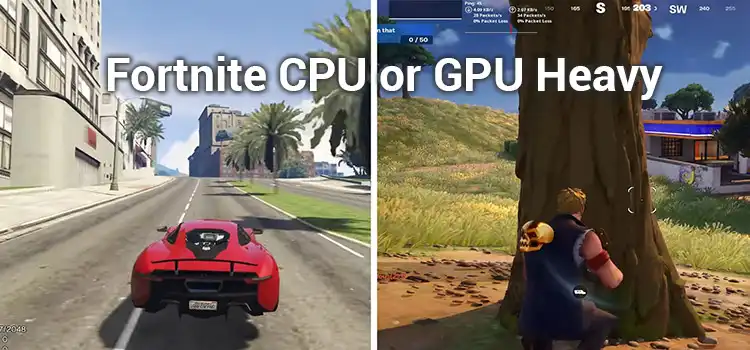
Is Fortnite CPU or GPU Heavy? Ultimate Performance
Fortnite is an online multiplayer battle royale game with over 350 million players globally. It features vivid graphics and intense action that requires significant computing…
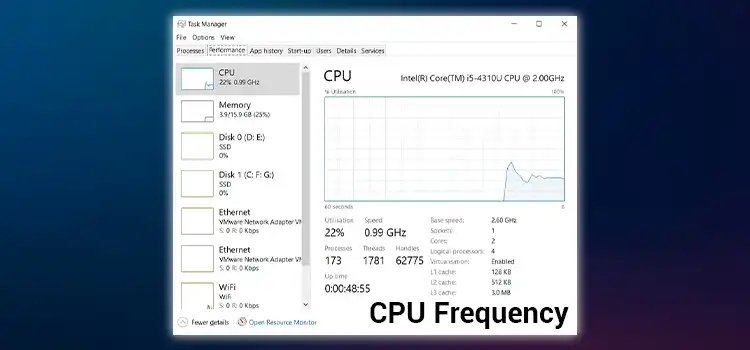
Failed to Get CPU Frequency: 0 Hz
Have you ever been working on your neural network, excited to see it learn and grow, only to encounter the frustratingly cryptic message: “Failed to…
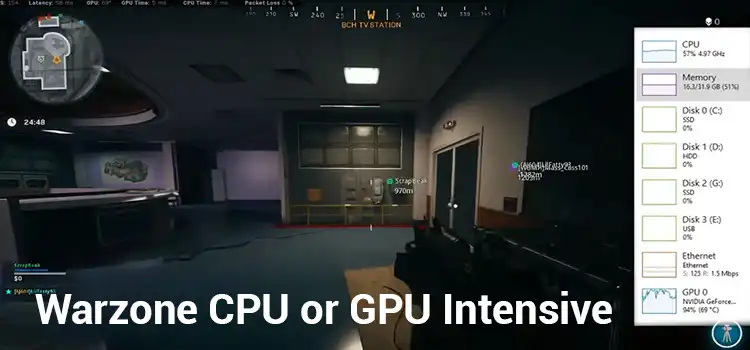
Is Warzone CPU or GPU Intensive? Tech Tips
Call of Duty: Warzone is a free-to-play battle royale game that has taken the gaming world by storm since its release in 2020. With its…

How Technology Simplifies Employee Organization
Efficient employee organization is paramount for productivity and success. Technology has emerged as a formidable ally, offering a plethora of tools and solutions to streamline…

6 Tips and Tricks for Your Gaming Room Setup
Creating the ultimate gaming room is an exciting endeavor for any gaming enthusiast. It’s not just about having the right equipment but about crafting a…

How Mechanical Testing Services Ensure Product Quality?
In the world of manufacturing, ensuring product quality is paramount. Whether it’s an automobile component, a medical device, or a consumer electronics gadget, the reliability…
Find Popular topics:
Browse by Categories
Memory
- How to Trace and Recover Disappeared Files from an External Hard Drive
- The Ultimate Guide to Formatting External Hard Drives for Mac
- How to Install Samsung SSD Firmware Update | A Step-by-Step Guide
- 2242 vs 2260 vs 2280 | Choosing the Right M.2 SSD Form Factor
- 240 vs 288 Pin RAM | Exploring the Differences
- 970 EVO M 2 vs 860 EVO | Unraveling the SSD Showdown
- How to Use DRAM Calculator (Easy and Straightforward)
- Samsung SSD 970 Evo Rapid Mode Not Supported (What to Do)
- Trident Z vs Trident Z Neo RAM | The Showdown of G.SKILL Memory Modules
- Do You Need a Heatsink for M.2? Easy Explanation for You
- 10000 RPM HDD vs SSD | Upgrade Storage Speed Through SSD
- 1 8GB vs 2 4GB Ram Sticks | Are Two Sticks Better Than One Stick RAM?
- 1TB SSD vs 2TB HDD | Which One is Better?
- 1 TB Hard Drive vs 500 GB SSD | Which Will Improve the Performance?
- 1TB or 2TB for Gaming | Is 1TB Enough?
- 2x1TB or 1x2TB HDD | Advantages and Disadvantages
- [Fix] 164 Memory Size Error HP | Fixing RAM Allocation Error
- 16 GB 1333MHz vs 8 GB 1600MHz RAM | Comparison Between Them
- G Skill Trident Z RGB Software | How to Control The Light Software?
- [6 Fixes] How to Repair a ‘1720 Hard Drive That Is About to Fail’
Display & Cases
- Top 10 Low Spec Games with Amazing Graphics
- How to Set Up Dual Monitors with GPU and Motherboard
- Does G-Sync Make a Difference? My Game Theory Prospect
- HDMI Splitter Not Detecting Second Monitor | The Best Solution
- [Troubleshooting] Acer Black Screen No BIOS: Display Error
- 720p AMOLED vs 1080p IPS | Choosing the Right Display Technology
- 45 NTSC to sRGB Converter for Monitors | Can I Convert?
- 24 Inch Monitor Next to 27 Inch Monitor | Easy Explanation for You
- 21 vs 24 Inch Monitor | A Constructive Comparison
- [3 Fixes] 240Hz TV Only Running 60Hz Refresh Rate
- Is 2 Fans Enough for a Gaming PC? Proper Explanation for You
- What to Look for in a Gaming PC?
- NF F12 vs NF A12 PC Case Fan | Which One is Better to Use?
- Front Radiator Push or Pull Configuration? | Is Pull Always Better?
- 2 Intake Fans 1 Exhaust | Should I Have to Use The Setup?
- How to Change RGB Fan Color? Easy Steps Guide
- How to Install IO Shield? | 5 Steps Guide
- PC Case Right Side Window | Does It Matter?
- Guide On How To Measure Case Fan | What’s The Standard Size?
- [Fix] 2.5 HDD External Case Not Detected (100% Working)
GPU & CPU
- Is Fortnite CPU or GPU Heavy? Ultimate Performance
- Is Warzone CPU or GPU Intensive? Tech Tips
- How to Set Up Dual Monitors with GPU and Motherboard
- How To Remove A Graphics Card From A Prebuilt PC [Explained]
- How Can I Overclock 2070 Super | Pushing Boundaries
- Can a Computer Run Without Integrated Graphics | Things You Should Know
- [SOLVED] New GPU Causing a Black Screen with Cursor? Here’s How to Address It
- How to Tell if My Graphics Card Is Fried | Decoding GPU Health
- 2080 Ti FTW3 vs XC Ultra | Unleashing the Power of Graphics Cards
- How Hot Can a GPU Get Before Damage? Things You Should Know
- Is Fortnite CPU or GPU Heavy? Ultimate Performance
- Failed to Get CPU Frequency: 0 Hz
- Is Warzone CPU or GPU Intensive? Tech Tips
- How To Remove A Graphics Card From A Prebuilt PC [Explained]
- CPU Core Count vs Clock Speeds | What’s the Real Deal?
- Why Is My CPU Fan Not Spinning and No POST? Exploring the Causes and Fixes
- How to Ship a CPU (Simple Guideline)
- How to Overclock Ryzen 7 2700X Processor? Temporary and Permanent Overclocking
- [6 Fixing Guide] Why Does My Computer Beep 5 Times and No Display?
- Ryzen 5 1600 AF vs 2600 Processor | The Ultimate Face-off
Motherboard
- Asus Motherboard Error Codes List – A Complete Guide
- Gigabyte Motherboard Error Codes: A Complete Troubleshooting Guide
- How to Identify BIOS Chip on Motherboard
- How to Know If SSD is Compatible With Motherboard
- MSI Motherboard Error Codes: A Complete Guide
- How to Diagnose Motherboard with Multimeter
- Green Light on Motherboard | Causes and Troubleshooting
- How to Set Up Dual Monitors with GPU and Motherboard
- How Do I Fix The Orange Light on My Motherboard?
- How To Remove 24 Pin Connector From Motherboard | A Step-By-Step Guide
- 1×4 8 Pin ATX 12V Connector | Is It Fit to Motherboard?
- Motherboard with 8 RAM Slots
- How to Connect RGB Fans to Motherboard | Easiest Way to Connect
- LGA 1155 CPU Socket in 1150 Socket of Motherboard | Will It Work?
- LGA 1151 CPU Socket in 1150 Socket of Motherboard | Can It Fit In?
- LGA 1151 CPU Socket in 1155 Socket of Motherboard | Will CPU Fit In the Socket?
- 1600mhz RAM on 1333mhz Motherboard | Can I Use?
- Can I Use 2 CPUs in One Motherboard? | Is this Worth It?
- Can the microATX Motherboard Fit In ATX Case? | Factors Explained
- How to Install IO Shield? | 5 Steps Guide
Keyboard & Mouse
- Switching from Controller to Keyboard and Mouse [Pro-tips at Fingertips]
- What is the Importance of Computers in Human Life?
- Are Cherry MX Blues Good for Gaming? Proper Explanation for You
- How To Get Better at Keyboard and Mouse | Best Trips & Tricks
- [7 Fixes] HyperX NGENUITY Not Detecting Keyboard
- [5 Fixes] Microsoft Sculpt Ergonomic Keyboard Not Working
- [7 Fixes] Left CTRL Key Not Working
- [5 Fixes] Japanese IME is not Ready Yet
- Switching from Controller to Keyboard and Mouse [Pro-tips at Fingertips]
- 500Hz vs 1000Hz Polling Rate | Which is Better for Your Needs?
- [2 Fixes] Glorious Model O Wireless Not Working When Plugged In
- How To Get Better at Keyboard and Mouse | Best Trips & Tricks
- Does a Gaming Mouse Make a Difference? | Ultimate Explanation
- [2 Fixes] The Wireless Mouse Glorious Model O Software Device Is Disconnected
- High DPI vs Low DPI | A Sensitivity Analysis of Your Mouse
- Logitech G703 vs G Pro Wireless Mouse | Which is a Better Option?
- [Fix] Logitech G Hub Not Detecting Mouse (100% Working)
HardwareCentric works on –

Simplifying Hardware
We simplify hardware so
everyone can understand it.
No jargon or confusion.

Innovation
We keep you updated on the latest
tech trends and fun DIY projects. It’s
all about exciting tech adventures
Problem-solving
Hardware Centric is committed to addressing and solving hardware-related issues and challenges for tech devices
