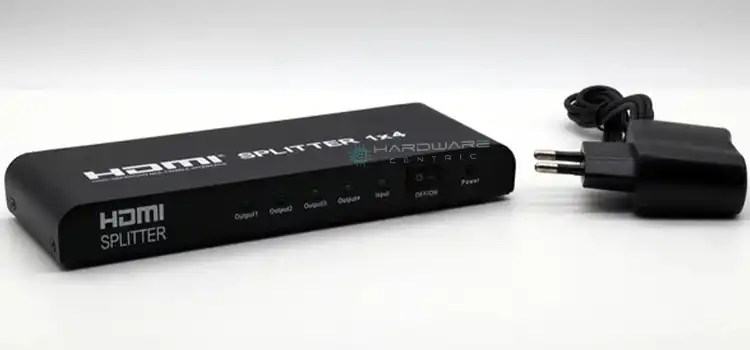
HDMI Splitter Not Detecting Second Monitor | The Best Solution
I’ve always been a fan of multi-tasking and maximizing productivity. So, the idea of dual displays was nothing short of exciting for me. I got my HDMI splitter, connected everything, and then – nothing. The second monitor was stubbornly refusing to join the party.
While HDMI splitters are generally adept at duplicating a screen’s output, sometimes they miss the beat, resulting in an unresponsive second monitor. But with the right approach, this is often an easy fix.
With tech, the devil’s in the details. Let’s put on our detective hats and get to the bottom of this dual display Issue.
Possible Reasons Behind The Issue
Here the list of potential causes of the splitter not working issue:
- Faulty HDMI Splitter: Like all tech gadgets, HDMI splitters can sometimes be defective right out of the box.
- Incompatible Resolution: If the two monitors have different resolutions, the splitter might struggle to broadcast to both.
- Weak Signal: Some HDMI sources might not provide a strong enough signal to be split across multiple devices.
- Cable Mishaps: Damaged or extremely long HDMI cables can result in signal degradation.
- Monitor Settings: Sometimes, the issue might lie in the monitor’s settings or ports.
The Solution to this Issue
Here are the solutions you can try to get both screens working. Try one by one until you find the one that works for you.
1. Test the HDMI Splitter
- Step 1: Disconnect your setup.
- Step 2: Try connecting the splitter to another device. If the issue persists, the splitter might be the culprit.
2. Inspect Your Cables
- Step 1: Check cables for any visible damage.
- Step 2: Try shorter HDMI cables. Lengths beyond 15 feet can sometimes weaken the signal.
3. Disable Link State Power Management
- Step 1: Open the Control Panel.

- Step 2: Navigate to Power Options.

- Step 3: Adjust your current power plan settings.

- Step 4: Click on “Change advanced power settings”.

- Step 5: Turn off the “PCI Express” link state power management.

4. Ensure Consistent Refresh Rates
- Step 1: Open System Settings.

- Step 2: Choose Display.

- Step 3: Adjust refresh rates under “Advanced display settings” to make sure both monitors match.

5. Reset Power Option
- Step 1: Launch Command Prompt as an administrator.

- Step 2: Enter: powercfg -restoredefaultschemes.

- Step 3: Press Enter.
6. Reinstall Graphics Card Driver
- Step 1: Access the Device Manager.

- Step 2: Uninstall both the graphics and monitor drivers.


- Step 3: Restart your PC.
- Step 4: If the driver doesn’t auto-install, manually download and install it from the manufacturer’s website.
7. Device Wake-up Permissions
- Step 1: Open Device Manager.

- Step 2: Adjust the power management settings for devices like the mouse and keyboard.

- Step 3: Allow these devices to wake up your computer.
8. Enable Extend Display Option
- Step 1: Navigate to Settings > Systems > Display.

- Step 2: Activate the “Extend these displays” option

9. Turn Off Deep Sleep Mode
- Step 1: Access monitor settings using the monitor’s buttons.

- Step 2: Disable the “Monitor Deep Sleep” option.

Concluding Thoughts
With the right steps, that dream dual-monitor setup is within reach. While hitches like the HDMI splitter not detecting the second monitor can be frustrating, remember, every tech puzzle has a solution.
NOTE: While solutions are great, here’s a tip: When shopping for an HDMI splitter, ensure it’s compatible with your monitors’ resolutions and refresh rates. It saves a lot of hassle!
Wondering About More?
Can I use an HDMI switch instead of a splitter?
Switches and splitters serve different purposes. A switch lets you select between multiple HDMI sources for one display, while a splitter broadcasts one source to multiple displays.
Does cable quality matter with HDMI splitters?
Absolutely! A high-quality HDMI cable ensures the best signal quality, especially when splitting the signal.
Subscribe to our newsletter
& plug into
the world of PC Hardwares