[SOLVED] New GPU Causing a Black Screen with Cursor? Here’s How to Address It
After months of anticipation, I finally upgraded to that killer graphics card. Eager to see it work its magic, I powered up my system, only to be met by… well, nothing. Just a desolate black screen, with the solitary cursor blinking mockingly at me. How could something seemingly so right go oh so wrong?
The mysterious black screen post a new graphics card installation is typically a result of software clashes, hardware issues, or a mix of both. But fear not, I’ve got the flashlight to navigate this abyss.
As we proceed, I’ll unravel the mysteries behind this graphics card issue, and together, we’ll illuminate the way out of the black screen purgatory.

Why Does This Happen? Unmasking the Villains
Here are the reasons why your graphics card may be causing the black market (aka, black screen) to ensure:
- Driver Conflicts: Switching from one brand to another, like from NVIDIA to AMD or vice versa, without a clean uninstall of the previous drivers, can lead to conflicts.
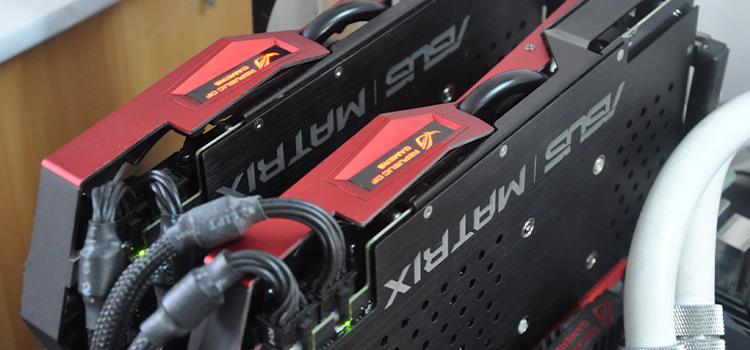
- Incorrect Installation: It might seem simple, but sometimes the card isn’t properly seated, or power connectors are amiss.
- Faulty Graphics Card: Occasionally, the graphics card might have a manufacturing defect. It’s rare, but it happens.
- BIOS Settings: Your system’s BIOS might not be configured to recognize the new GPU, especially if you’ve been using integrated graphics previously.
Charting the Way Out: Solutions to Consider
1. Clean Driver Installation
Here are the steps to follow:
Step 1: Boot into Safe Mode (for Windows, restart while holding down the shift key).
Step 2: Use a tool like DDU (Display Driver Uninstaller) to thoroughly remove existing drivers.
Step 3: Restart and install the latest drivers for your new graphics card.
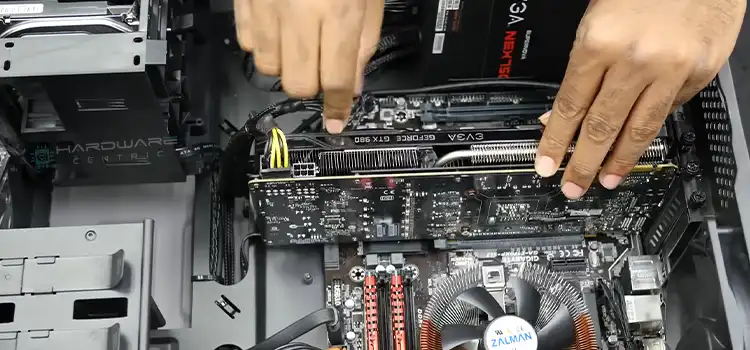
2. Double-Check Your Installation
Follow the steps below:
Step 1: Power down your system and unplug from the mains.
Step 2: Open the case and ensure the graphics card is firmly seated in the slot.
Step 3: Ensure all power cables are connected securely.
Step 4: Power up and check.
3. Test the Graphics Card
The steps are here:
Step 1: Try the graphics card in a different slot or another system.
Step 2: If it still doesn’t work, it might be a defective unit. Consider a replacement or warranty claim.
4. Tweak BIOS Settings
The step-by-step process is here:
Step 1: Access your system’s BIOS during boot (often by pressing Del, F2, or F10).
Step 2: Navigate to Advanced/Chipset settings.
Step 3: Ensure your primary graphics or primary video controller is set to PCI-E (or similar, depending on your system).
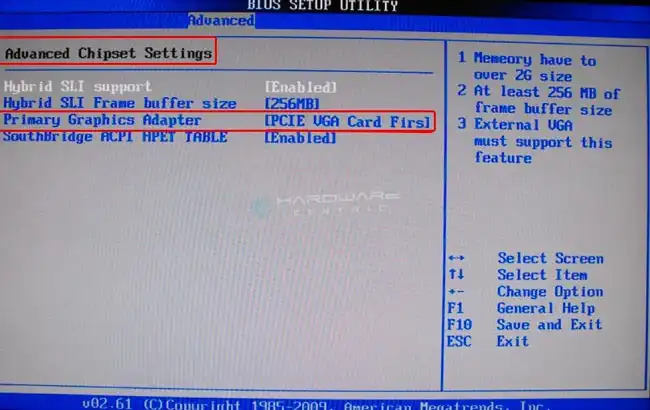
Step 4: Save changes and exit.
End Notes
The journey from a blank screen to a vibrant display after a new graphics card installation might have a few hiccups. But with the right tools and knowledge, you can quickly turn that solitary cursor into a gateway to visual nirvana.
Subscribe to our newsletter
& plug into
the world of PC Hardwares