How to Install IO Shield? | 5 Steps Guide
Installing the IO shield to the motherboard and then attaching the whole thing to the CPU casing are some delicate tasks. You need to be precise with the devices; otherwise, vulnerable parts of the IO shield or motherboard will be damaged. There are some tricks to make this difficult work easy. Do you want to know these tricks? Stay with me in this post to know all about installing the IO shield.
How Do I Install Input-Output (IO) Shield to the Motherboard?
You must handle IO (Input- Output) shield and motherboard very carefully. Use both of your hands if necessary. Follow these steps to install the IO shield.
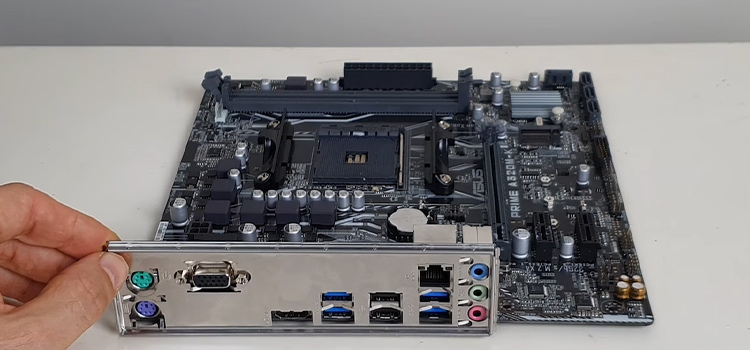
1. First of all, you need to attach the IO shield to the motherboard. Align the parts of the motherboard with the gaps of the IO shield accurately.
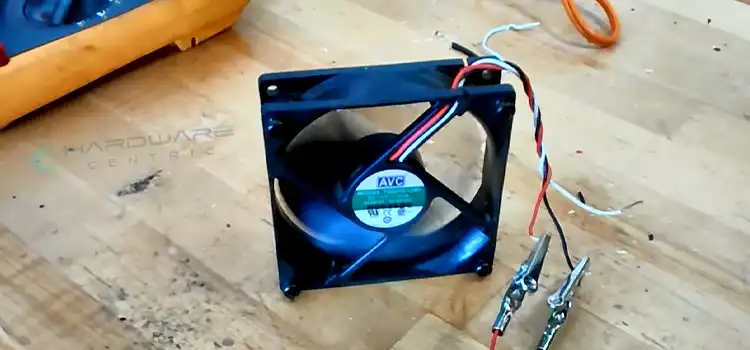
2. Remove the exhaust fan from the CPU casing before you put the IO shield inside the case.
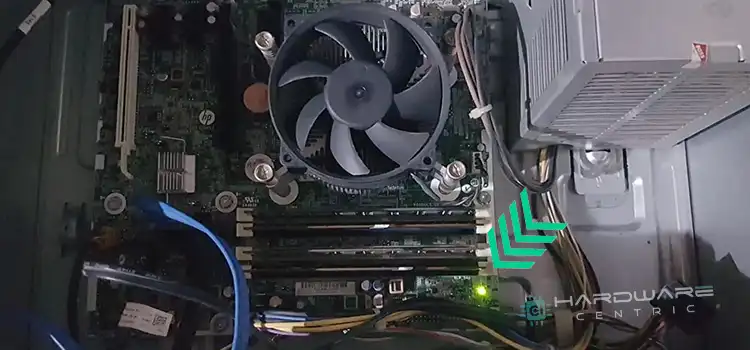
3. Now, you will attach the IO shield-motherboard arrangement with the CPU casing. Apply force from the corner sides of the IO shield. You should hear a click sound once it is attached well to the CPU casing.
4. The bumps which are placed on the top side of the IO shield are the indicators of the quality of installment. If the bumps come out of the casing wall, it means that the installation is done quite well.
5. Lastly, re-mount the exhaust fans into the CPU casing.
Conclusion
IO shield is good for keeping your CPU (central processing unit) free from dust. It protects the CPU as well as enhances the overall look of the system. Installing an IO shield is a crucial part of the process of building your PC. You must be careful while handling the equipment. Hopefully, the article helps you in installing the IO shield successfully. That’s it for today; have a good day.
Subscribe to our newsletter
& plug into
the world of PC Hardwares
![[Fix] Computer’s Half of Screen Is Black (100% Working)](https://www.hardwarecentric.com/wp-content/uploads/2022/09/Why-Half-of-Screen-Is-Black-on-My-Monitor.jpg)