[6 Fixes] How to Repair a ‘1720 Hard Drive That Is About to Fail’
Many hard drives will outlast the computer on which they are installed, and some may even weather a few computer migrations. Hard drives are designed to last, yet they do fail occasionally, either as a result of inappropriate treatment or because they were not made precisely. You can try to extend the life of a hard disk temporarily if it is ready to fail, but you may not be able to fix it permanently.
This notice signifies that the diagnostics and status circuitry and/or firmware on your hard disk has concluded that it is going to fail. Error might signify anything in this scenario, from You may lose some data to The entire disk has ceased operating.
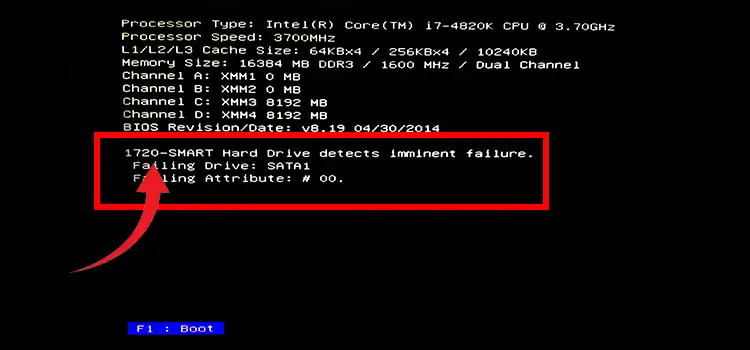
To be honest, you’re lucky if you even receive a warning. Disks usually fail without notice. You are not guaranteed to get a notice.
It simply implies that as soon as you read this message, you must take it seriously.
Remedies for ‘1720 Hard Drive That Is About to Fail’ Error
Try any of the remedies below if you get the 1720-Smart Drive Detects Imminent Failure issue.
Fix 1: Make a Backup of Your Files
This useful backup option has been available on Windows devices since Windows 7. It enables you to build a system image file that you may use to recover your files if something goes wrong. It isn’t shown in the Settings app. Instead, it’s buried deep within the Control Panel.
Follow these procedures to create a backup system image of your Windows device:
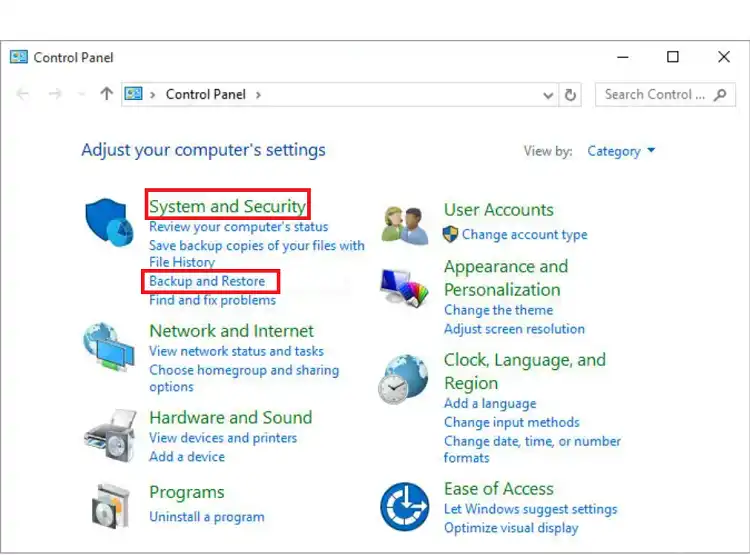
Step 1. Navigate to the Control Panel.
Step 2. Select System and Security from the drop-down menu.
Step 3. Select Backup and Restore from the drop-down menu.
Step 4. After that, select Create a system image from the menu on the left side of the window.

Step 5. Choose where you want the backup system image to be saved: DVD or external hard disk. Using an external hard disk is your best alternative. Connect an external drive, then choose On a Hard Disk and Next.
Step 6. Press the Start backup button.
Step 7. Be patient as your system creates a system backup image.
Fix 2: Disk Check Tool Is Being Used
Disk Checker is a built-in application for Windows 7/8/10 that can check for and repair hard disk issues, faulty sectors, and file system faults. It’s worth noting that the activities differ significantly from one operating system to the next.
I’ll use Windows 10 as an example to demonstrate how to repair a hard disk failure in HP / Dell / Notebook and Lenovo Thinkpad computers. You can find extensive instructions online if you’re running Windows 7 or 8.
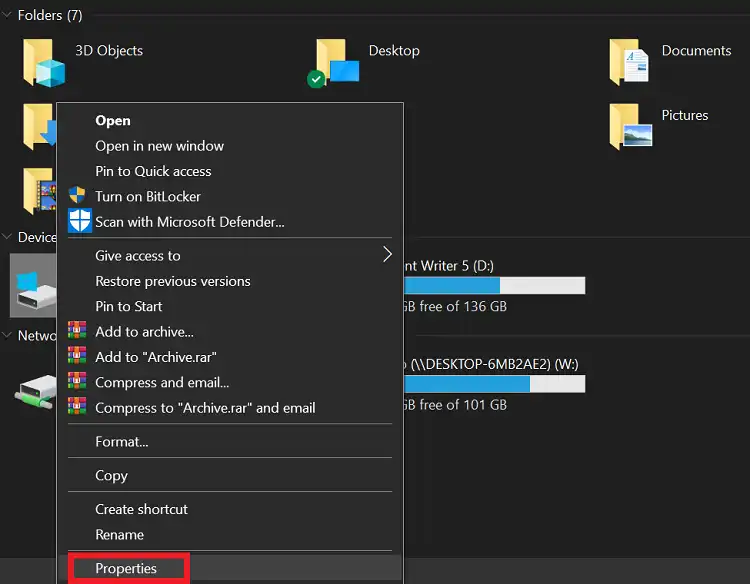
Step 1: Go to Computer or This Computer, right-click the hard disk that is about to fail, and choose “Properties” from the pop-up menu.
Step 2: Next, pick Check from the Tools menu. To proceed, click Scan Disk. Wait for the discovered error to be fixed. You will be provided the specifics if this is not the case.
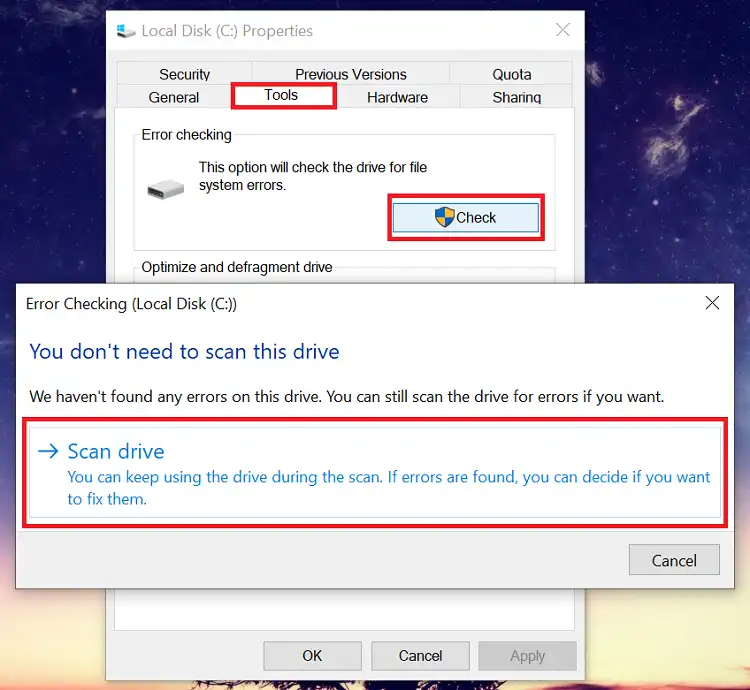
Note: If you’re comfortable with the command line, open a command window and type chkdsk / f / r, then press Enter.
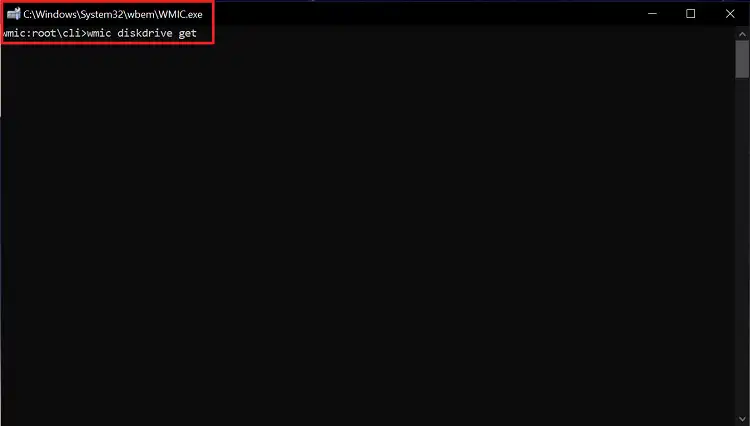
Fix 3: Open a Command Prompt Window
You may use the Command Prompt to rectify the mistake once you have this backup available. Here’s how to do it:
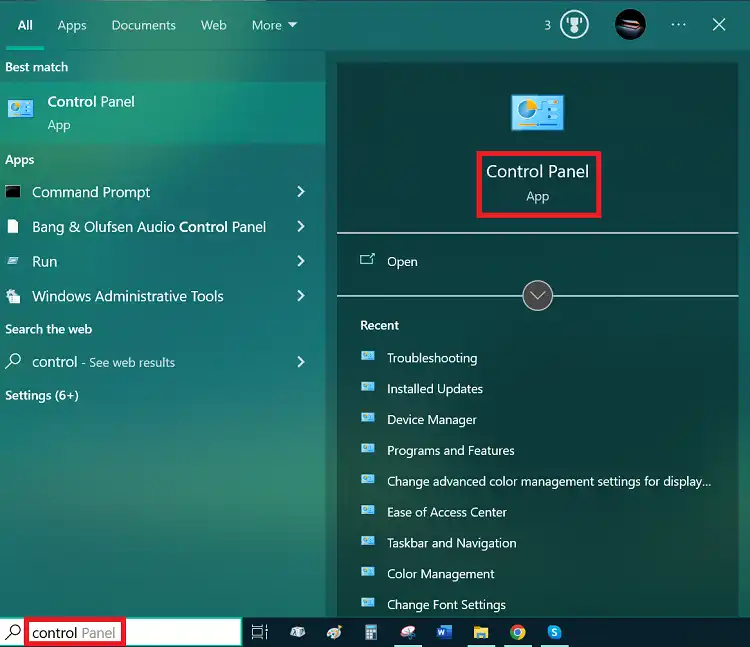
Step 1. Press the Windows button. This brings up the Start menu.
Step 2. Type command prompt into the search bar.
Step 3. Select the first result from the search results.

Step 4. Type and execute the following command into the command prompt to obtain the status of a diskdrive with wmic: wmic diskdrive get
Step 5: Press the Enter key.
Step 7. Check the state of your hard drive. If everything seems good, the result status should be Otherwise, a FAIL message will be returned.
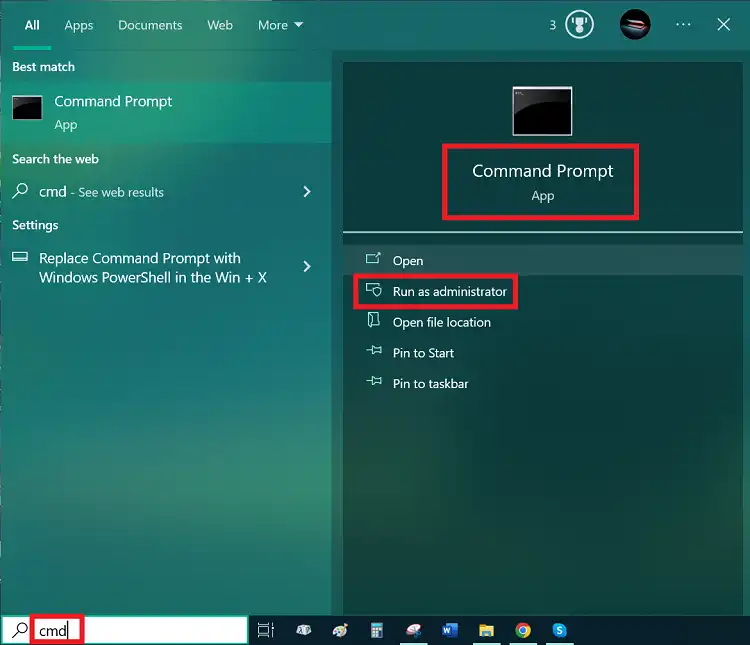
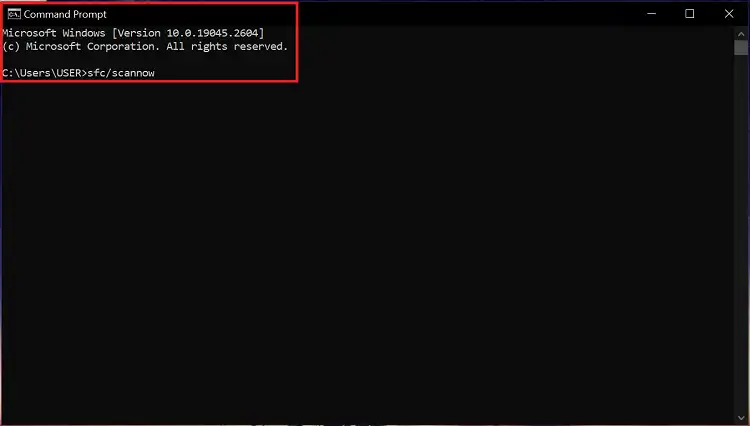
Fix 4: Run the System File Checker Program
Your Windows device comes with a basic tool that you may use to rectify faults that you might not be aware of. The System File Checker is the name of this program. Follow these steps to put it to use:
Step 1. Press the Start button on your keyboard.
Step 2. Type cmd into the search bar.
Step 3. Press the Enter key.
Step 4. Select the first item in the search results by right-clicking it. Choose the Run as Administrator option.
Step 5. Run the sfc /scannow command from the command prompt.
Step 6. Press the Enter key.
Fix 5: Run a Quick Disk Check on your Computer
If the problem persists, perform a fast disk check. This is how you do it:
Step 1. Select Start from the Start menu.
Step 2. Type cmd into the search bar.
Step 3. Press the Enter key.
Step 4. Type the partition drive letter you want to verify with Disk Check on the command line. Then type the chkdsk command and press Enter. This is how the command should be written: c:/chkdsk
Step 5. If an issue is discovered, it will be addressed immediately.
Fix 6: Examine Your Hard Drive’s Bad Sectors
If your partition file system is working properly, check the health of your hard disk. There are possibly faulty sectors on your hard disk that have been infected with malware or viruses.
You’ll need the assistance of a third-party utility for this solution. Download and install one, then run it to check for damaged sectors on your hard drive.
The procedure may take some time, particularly if the disk you’re scanning has a lot of huge data. You should get a report of your drive’s problematic sectors when the inspection procedure is finished.
Tips: Seek Professional Assistance
The last thing you want to do is call your drive’s manufacturer’s support staff or take it to a local repair shop. To address technical difficulties with your drive, you’ll frequently need to employ specialized equipment and machinery. These tools are only available to experts.
Frequently Asked Questions (FAQs)
What is 1720 error hard drive?
Basically, the 1720 hard drive error means the firmware and status circuitry that remain in your drive are stating that this hard drive is about to fail soon.
How can I bypass hard drive error in HP laptop?
There are a few ways to bypass the hard drive error in your HP laptop. Those are – Hard reboot. Reset the hard drive. Reset BIOS. Change boot priority order. Use a data recovery program.
How can I reset hard drive?
To reset a hard drive – go to Settings and select Update & Security. In the Recovery section, under Reset this PC, click Get started. Then Remove everything. Click Change settings in Additional settings window, confirm that Delete files from all drives and Clean data options are enabled.
Conclusion
You must pay close attention to the error 1720-Smart Drive Detects Imminent Failure. But don’t get too worked up. You should be able to solve your problem if you simply follow the steps outlined above.
We recommend that you download and install a reputable PC Repair program once everything is back to normal. This way, you can be assured that your computer will run smoothly and that any speed-slowing issues will be avoided.
Have you ever received an error message that says 1720-Smart Drive Detects Imminent Failure? How did you handle it? Please share your thoughts in the comments section below.
Subscribe to our newsletter
& plug into
the world of PC Hardwares