[5 Fixes] The Amount of System Memory has Changed
When booting your computer up, you may encounter different error messages. Some will let you still boot your Windows up anyway, other errors will prevent your computer from starting entirely. One such error message is the amount of system memory has changed.
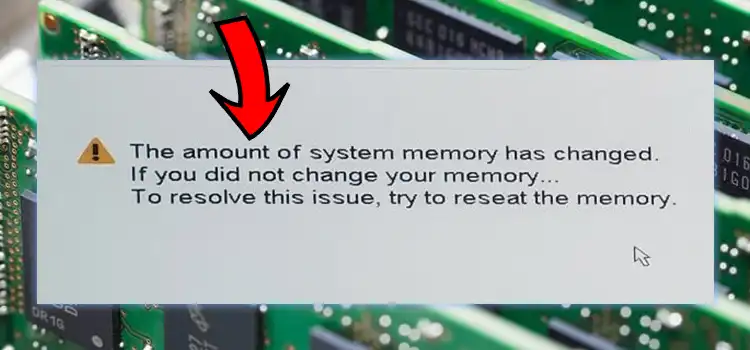
This can happen if you have recently changed the amount of your RAM. However, sometimes it can happen even without any hardware change. Either way, if you too are receiving this error message, you’ve come to the right place. in this article, we will explain how to fix your computer when it says the amount of system memory has changed from your BIOS.
How to Fix The Amount of System Memory Has Changed?
There are a couple of ways you can fix the error the amount of system memory has changed. Some fixes are brand-specific, and some should work on every computer. so, if a specific solution doesn’t work for your computer, try the next one instead.
Fix 1: Restart Your Computer
The first and the most obvious solution to this issue is not to freak out and simply restart your computer. With a fresh new boot, your system might be able to correctly determine the amount of RAM that’s been installed on your computer. if it does, the problem will be sorted out on its own and the computer will boot up just fine.
Depending on your situation, you might need a couple of restarts to get it done. So, don’t lose hope if you’ve already restarted your computer before opening up this article, try a couple of times.
Fix 2: Press F1 During Boot
Just like the last one, this fix can work regardless of your computer brand. When you see the error message that the amount of system memory has changed, your computer should instruct you to press F1 to continue or F2 to enter setup. On that screen, press F1 to let your computer boot up normally. After one or two successful boot-ups, the error message should go away on its own.
You can also press F2 to enter BIOS and check if everything is in the correct order. Then save the BIOS settings and exit. Your computer will restart automatically.
Fix 3: Check and Reinstall RAM if Necessary
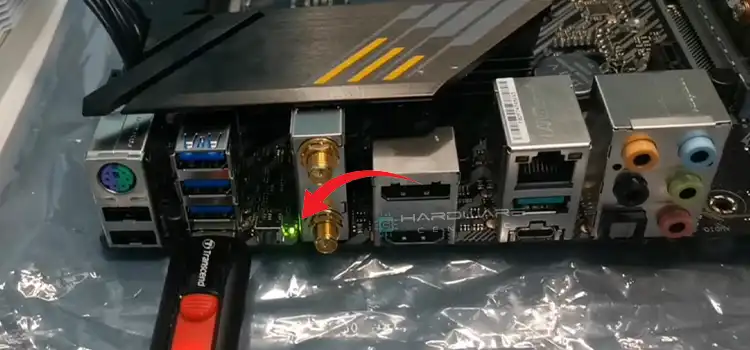
Sometimes the problem arises from faulty installation of the RAM stick. So, check the RAM and see if it’s installed correctly. If it is, pick it up from the RAM slot and reinstall it. Also, if you have installed multiple RAM sticks and if one is of an unsupported variant, it will lead to an error message. So, check if your computer starts up normally with just one RAM installed. if it does, then the new RAM is not supported by your system.
Fix 4: Disable Dell Support Assist
If you are using a Dell computer or laptop, the Dell Support Assist OS can cause the issue. to fix it, you need to get into the BIOS by pressing F2 when your computer boots up. Find your way through the Advanced tab and locate SupportAssist System Resolution. Click on it and you should find SupportAssist OS Recovery in the next window. Make sure that the option is set to Disable. Save everything by pressing F10. Now restart your computer.
Fix 5: Remove the SupportAssist App
Again, this solution works only for Dell computers and laptops. They come preinstalled with the SupportAssist app. This can sometimes conflict with Windows, which can lead to that error message. To fix it, get rid of the app entirely. Uninstall the SupportAssist app from settings and restart your computer.
To Sum it Up
Most of the time, the error message “The amount of system memory has changed” is a harmless message and should go away on its own. Do a couple of restarts and you should be good. However, if it doesn’t, check if the RAM sticks are installed correctly and if they are of supported type. For Dell computers, check the SupportAssist settings as we have described in this article.
Good luck and thanks for reading!
Subscribe to our newsletter
& plug into
the world of PC Hardwares