[8 Fixes] PC Stuck In Boot Loop No Display
A boot loop defines that your computer is stuck in a loop of rebooting. While rebooting your device, it needs to turn on and function completely. If it fails to do that it may end up in a boot loop. As a result, you can see a blank display.
It can cause because by a system update that goes wrong, installation of new software, hardware issues, dust, thermal paste, ram, or PSU.
How to Fix the ‘PC Stuck In Boot Loop With No Display’ Error
There could be several reasons because of why your PC could be stuck in a boot loop which you can fix easily.
Basic Things
First, you need to power off your pc and unplug it from the wall outlet. Then press the power button while unplugged to make sure there is no electricity. Use an anti-static band or rub your hand on a metal surface to remove the statics from your hand before touching any of the pc components. Because it can destroy your pc components.
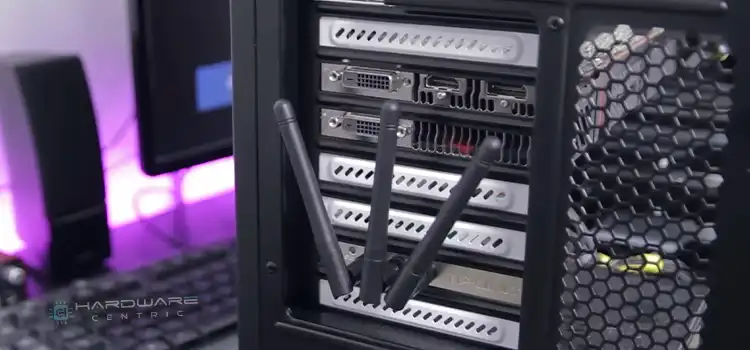
You also need to make sure the basic components are in the right place. Check the 12-pin and 6-pin power supplies are connected on the way to the GPU your SSD and hard drive and motherboard. Make sure your booth drives are plugged in correctly. Now try to on your pc.

Some of the causes and fixes of the causes are described below:
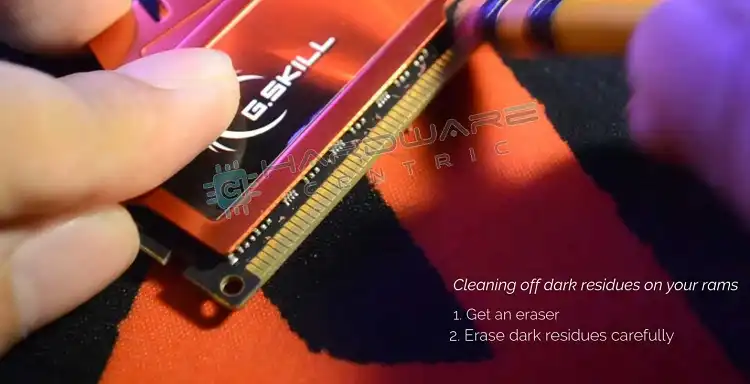
1. Dust
Dust can cause pc components not to detect each other. So, your computer can not function completely. Quick solution for you to clean your computer. Especially all the ports and cables. Clean the dark residues on your rams carefully. You can use an eraser for that. Then brush off the erased specks of dirt.

2. CMOS
Reset CMOS settings to factory defaults.
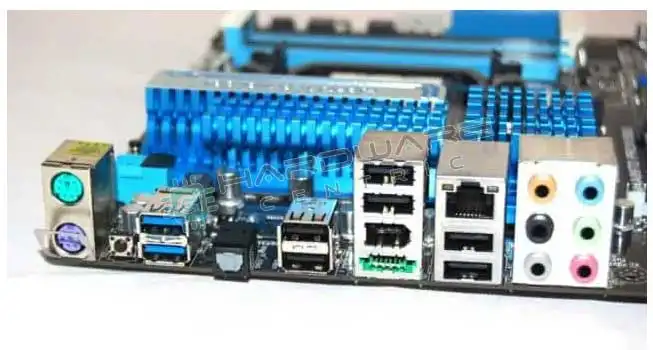
Clear CMOS Using Button
At the back side of your motherboard, you can see a blue button. Press the button. It will erase your BIOS settings and reset your settings to factory defaults. As a result, you may lose your modifications or changes. If the reboot loop problem is fixed, you can reconfigure your BIOS according to your need.
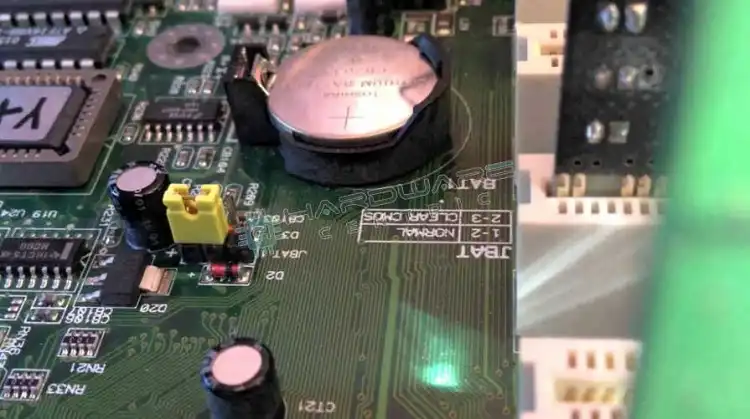
Removing CMOS Battery
If your motherboard does not have a CMOS (complementary metal-oxide-semiconductor) button, then you can just remove the CMOS battery from the motherboard. First, unplug the PSU completely from the power supply to drain the leftover electricity. Now remove the battery. Do not put the battery back immediately. Wait 10 to 15 minutes and then plug it back.
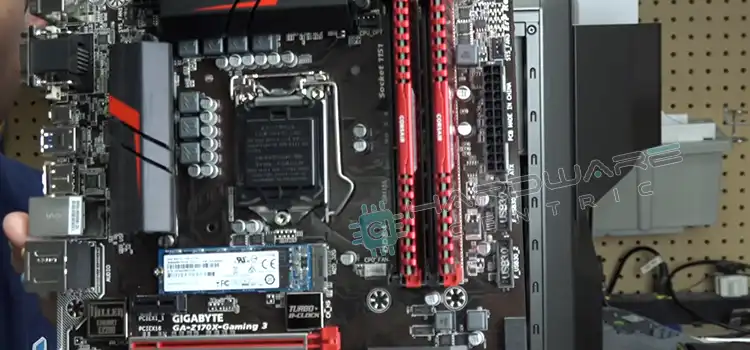
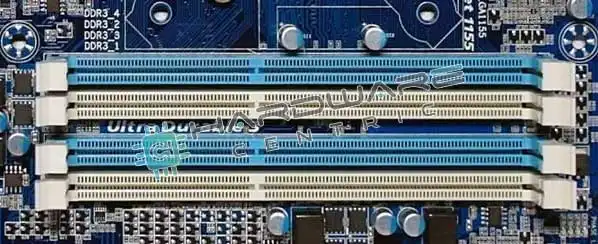
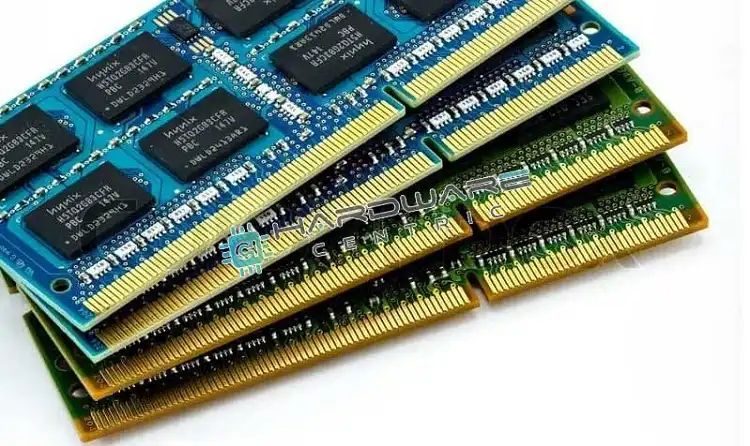
3. Remove RAM / Changing RAM Slot / Use Different RAM Sticks
A damaged RAM stick or RAM slot can cause a boot loop problem. Take out all the ram sticks and try to reboot your PC. If this does not solve your problem, use different ram slots for each ram stick and try again. If your problem does not solve, buy new ram slots and ram sticks and try again.
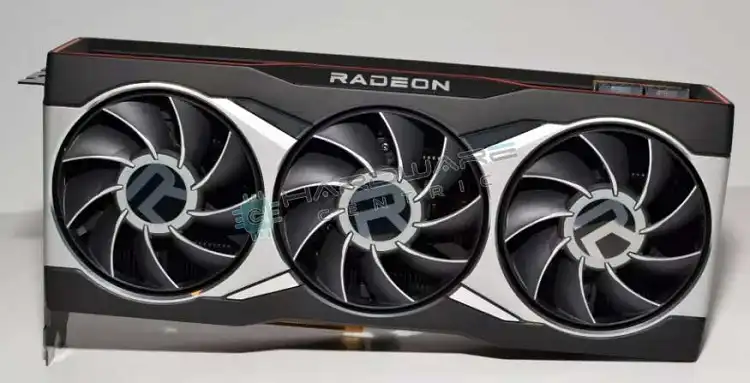
4. Remove GPU
Remove the graphics card and try to reboot your pc.
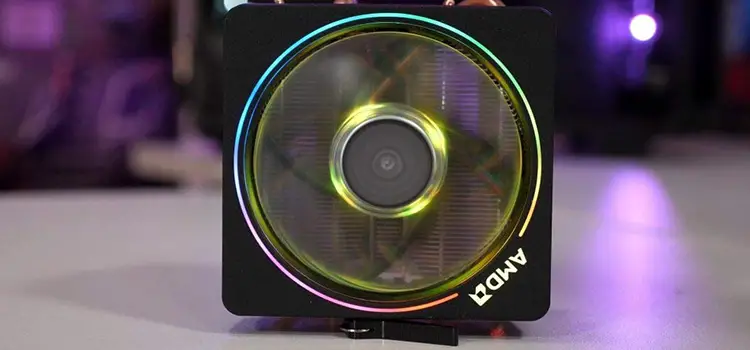
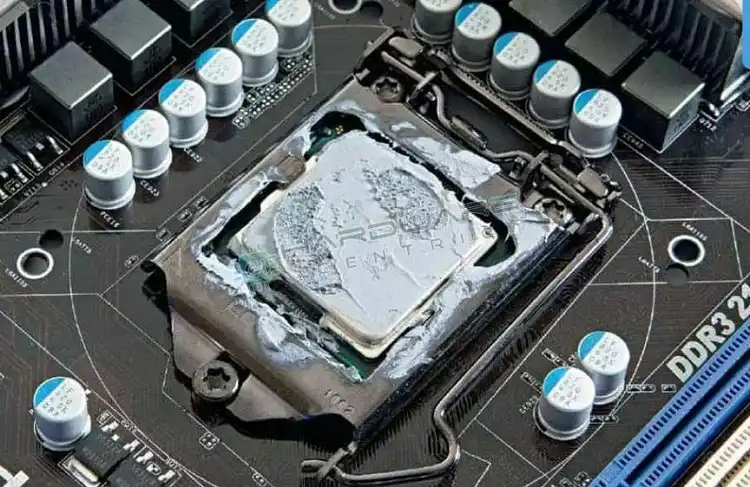
5. Reapply Thermal Paste or Grease
If the thermal paste is applied for a long time, it can become dry, and hard to regulate the temperature of the processor. Carefully take the CPU cooler and remove the processor from the motherboard. Now apply a new thermal paste and connect the CPU cooler. Then reboot your pc again.
6. Over Heat
If the temperature of your pc is high enough, it will detect the temperature and restart your pc. If it still can detect the temperature is higher than the safe level, it will keep restarting the pc itself.
To solve this problem, you need to cool your pc before powering it on. And next time maintain the pc temperature. You can use an MSI afterburner or armory crate to monitor your GPU and CPU temperature.
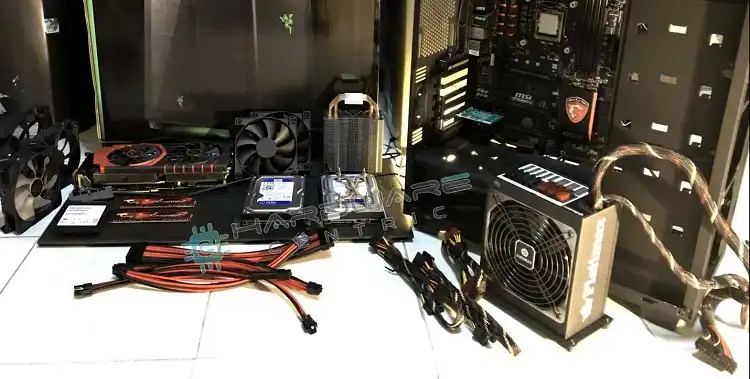
7. Faulty PSU
Your PSU (power supply unit) might be faulty or have a low power draw. And low power draw can cause your pc continuously restart. You are going to need a technician to solve this problem unless you are a technician. You can buy a new PSU. At least buy an eighty-plus bronze PSU.
8. Mother Board CPU Socket
First, remove the CPU and check the motherboard socket. Carefully look for the pins on the socket. It can be bent or broken sometime. It can cause a boot loop with no display.
To solve this problem, you can realign the bend pins. But do not try too hard. Because it can further damage the pin. If the pin is broken, you need to replace it with a new one.
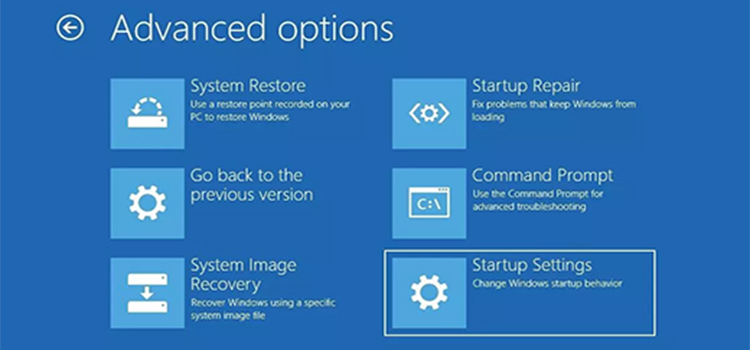
How Do I Get Out of the Infinite Boot Loop?
Ans: the fastest way to get your laptop out from the infinite boot loop is to force the shutdown of your pc by pressing the power button and turning it on.
Conclusion
In this article, we have discussed the boot loop problem and its fixes. It can cause because by software or hardware issues. Dust in the computer can cause pc components to detach from others. So, it needs to be removed. Another common cause is dead of RAM sticks and slots. It needs to be fixed too.
Subscribe to our newsletter
& plug into
the world of PC Hardwares