[4 Fixes] Logitech G Hub Not Installing
Several reasons such as administrator permission, firewall access, and outdated drivers/windows versions may cause errors during the installation process.

How to Solve ‘Logitech G Hub Not Installing’
Logitech G Hub, made for Logitech gaming control software is a cutting-edge software to control and customize Logitech peripherals such as keyboards, mice, headsets, speakers, and so on. However, many gamers are facing problems while installing Logitech gaming software on Windows 10. Even though this can happen for many reasons, it’s totally fixable.
You’ll get an installation failure message if another Logitech process running in Task. It’s likely to terminate the installation operation and block the process.
Fix 1: End Process by Task Manager

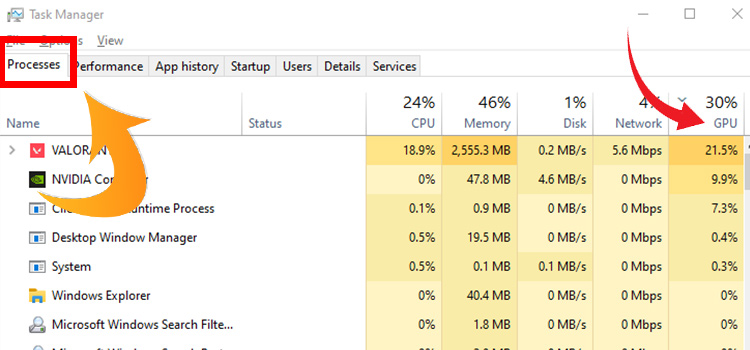
Task Manager is a good old method to fix most crashes and not-responding problems. In this method, you have to end the Logitech G Hub process first. End the Logitech G Hub process first by the task manager. Follow the steps below:
Step 1: Press Ctrl+Shift+Escape on your keyboard to bring up Task Manager. Or you can right-click the Start button and choose Task Manager manually.
Step 2: Locate and select the Logitech Gaming and click End task under the Processes tab.
Step 3: Switch to the Startup tab, choose Logitech Gaming and click Disable to disable it if needed.
Step 4: Check if you can install it now. If the problem is not resolved move on to the next method.
Fix 2: Run as Administrator

Administration permission is quite important for some of the apps or software to run or install. Try launching the software with administrator privileges and check if it works.
Step 1: First, Locate the installation folder of Logitech G Hub or the shortcut in File Explorer.
Step 2: Right-click the executable file and look for the option Run As Administrator. If you can’t find it, try switching to the Compatibility tab and check Run this program as an administrator. Make sure to click Apply and OK to save changes.
Fix 3: Allow Firewall Access for Logitech G Hub

A firewall addressing Logitech G Hub as a potential threat as malware, bug, or trojan horse blocks the process and discontinues the process of installing the software. Follow the simple steps below to deactivate the firewall to allow the Logitech gaming software.
Step 1: Search using the search bar right beside the windows logo or press Windows + S to manually open the search option. Search for the control panel, and click the search result to open it.
Step 2: Look for the option System and Security, and the sub-category Windows Defender Firewall. Select the option in the left pane to allow an app or feature through Windows Defender Firewall.
Step 3: Select the Change settings button to edit the settings. Under both Private and Public, find Logitech G Hub and check all of its boxes. Click OK to apply and save the changes.
Make sure to restart your computer and check again. Also, you can disable the firewall to install the software for the time being.
Fix 4: Update Windows
Updating to the latest version of windows can resolve the problem. Many users reported that updating the windows fixed the issue. Go to settings and click on Update & Security> Windows Update. Check for updates and if there are any, update to the latest version.
To Conclude
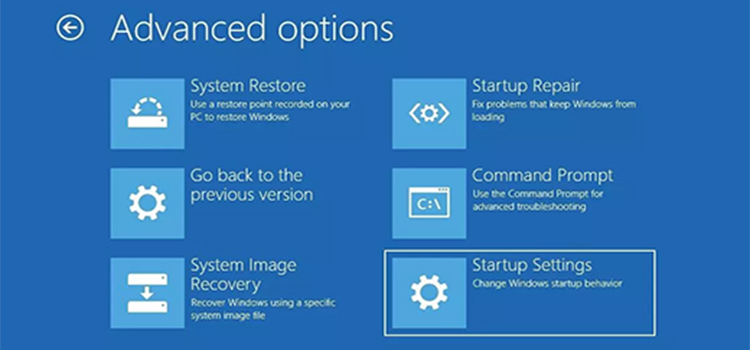
Restarting your computer in “Safemode with Networking” mode can solve the network issue to install the Logitech G hub. Also, you can try using the VPN and make sure that you’re using the latest device drivers.
Subscribe to our newsletter
& plug into
the world of PC Hardwares


![[6 Fixes] 8GB Hardware Reserved RAM Windows 10](https://www.hardwarecentric.com/wp-content/uploads/2023/01/8GB-Hardware-Reserved-RAM-Windows-10.webp)
![[6 Fixes] Speaker Popping Noise When Turned On](https://www.hardwarecentric.com/wp-content/uploads/2023/09/speaker-popping-noise-when-turned-on.webp)

